
start to finish
3D Model + Hand-Painted Details
“He brings a real talent as an artist in working with light and movement to draw the reader’s attention to what the message is of not just the particular image, but key principles of the overall planning project. Bringing him into a project isn’t a case of just seeking skills & strong results—we genuinely enjoy working with him and his process of ideation.” - Chance Sparks, AICP, CNU-A, Urban Planning & Design Group, FNI, Inc.
STEP 1 : Brainstorming
After you send me your site plans, sketches, CAD elevations, site photos, or notes on a napkin, we'll start a conversation on how best to help your clients visualize your concept. No matter what you have, we can work with it, even if it is still just an idea in your head. I’m not afraid to help you design along the way.

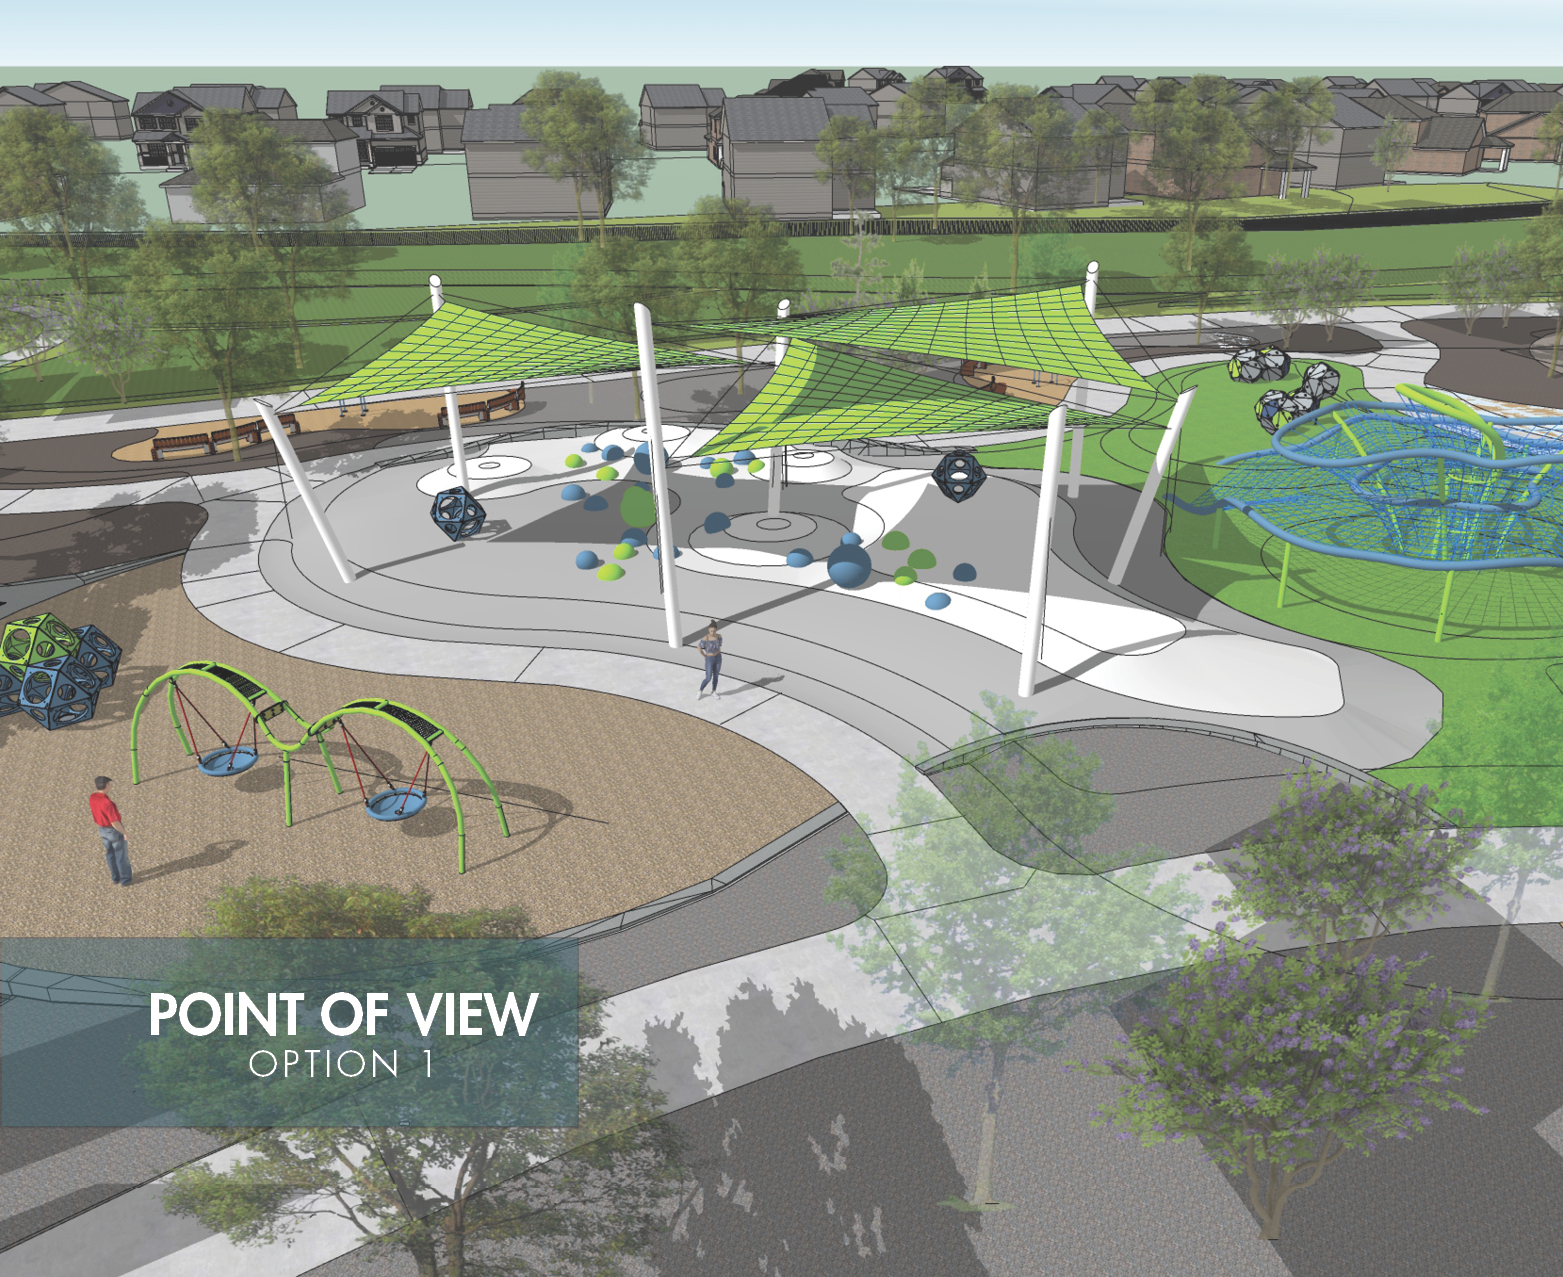
STEP 2 : 3D Model & Point of View
I'll build a 3D model of your design to show the space accurately. The 3D model helps us to eliminate design mistakes and allows for greater flexibility in the information we show, all while maintaining accurate perspective. Several points of view will be presented to you before selecting the final vantage point for the illustration.
STEP 3 : Finished Illustration
Once you and your client have approved the design and point of view, I'll create the final illustration. Finishing touches may include tweaking the colors or changing the time of day, altering vegetation, and population of people. The final image will be delivered in a digital format as a JPEG or PDF.
